
Your Guide to Flooring Renovation: Ceramic Tile
A flooring renovation always feels like an exciting process to begin, with much anticipation for the end results. With so many styles available and various ways to undertake a renovation, including hiring contractors and DIY approaches, it can feel a little daunting, too.
To help you confidently move through this project, our Window Accents & Flooring team provides a start-to-finish guide to the ceramic tile flooring renovation process to get you started!
What is Ceramic Tile?
So, what is ceramic tile flooring exactly? Ceramic tile is a fantastic choice for those seeking a long-lasting and timeless option. This type of flooring consists of natural tiles fired at high temperatures to provide a surface resistant to moisture, stains, and scratches.
It’s also incredibly easy to clean, a significant benefit of ceramic tile flooring.
Step 1: Map Out the Project
Ceramic tile can fit almost any room. However, if you’re trying to narrow it down, this flooring is excellent for rooms with heavy foot traffic or those prone to spills and water puddles, such as:
- Kitchens.
- Mudrooms.
- Bathrooms.
Additionally, establish your budget early on in the process. Ceramic tile comes at various price points, so be sure to have an open conversation with your flooring provider.
Step 2: Choose the Right Tile
Flooring lends to the overall atmosphere of a room. Knowing what you want a space to feel like can help you decide which colors and design schemes you want when ordering your tile. Light, neutral tiles, for example, can open smaller rooms. Textured or patterned options are great for adding depth and personality to larger spaces.
And don’t forget about tile size! Larger tiles create a seamless look, while smaller ones draw the eye to intricate patterns. If you’re not sure where to start with design, our experts at Window Accents & Flooring are happy to provide samples that match your interior design goals.
Step 3: Prep the Space
Before installation, you need to have your old flooring removed. From there, the subfloor will need to be cleaned and leveled to ensure your flooring lies smoothly and lasts for years.
Our professionals inspect for moisture issues and uneven areas and make any necessary repairs to ensure your new flooring looks perfect.
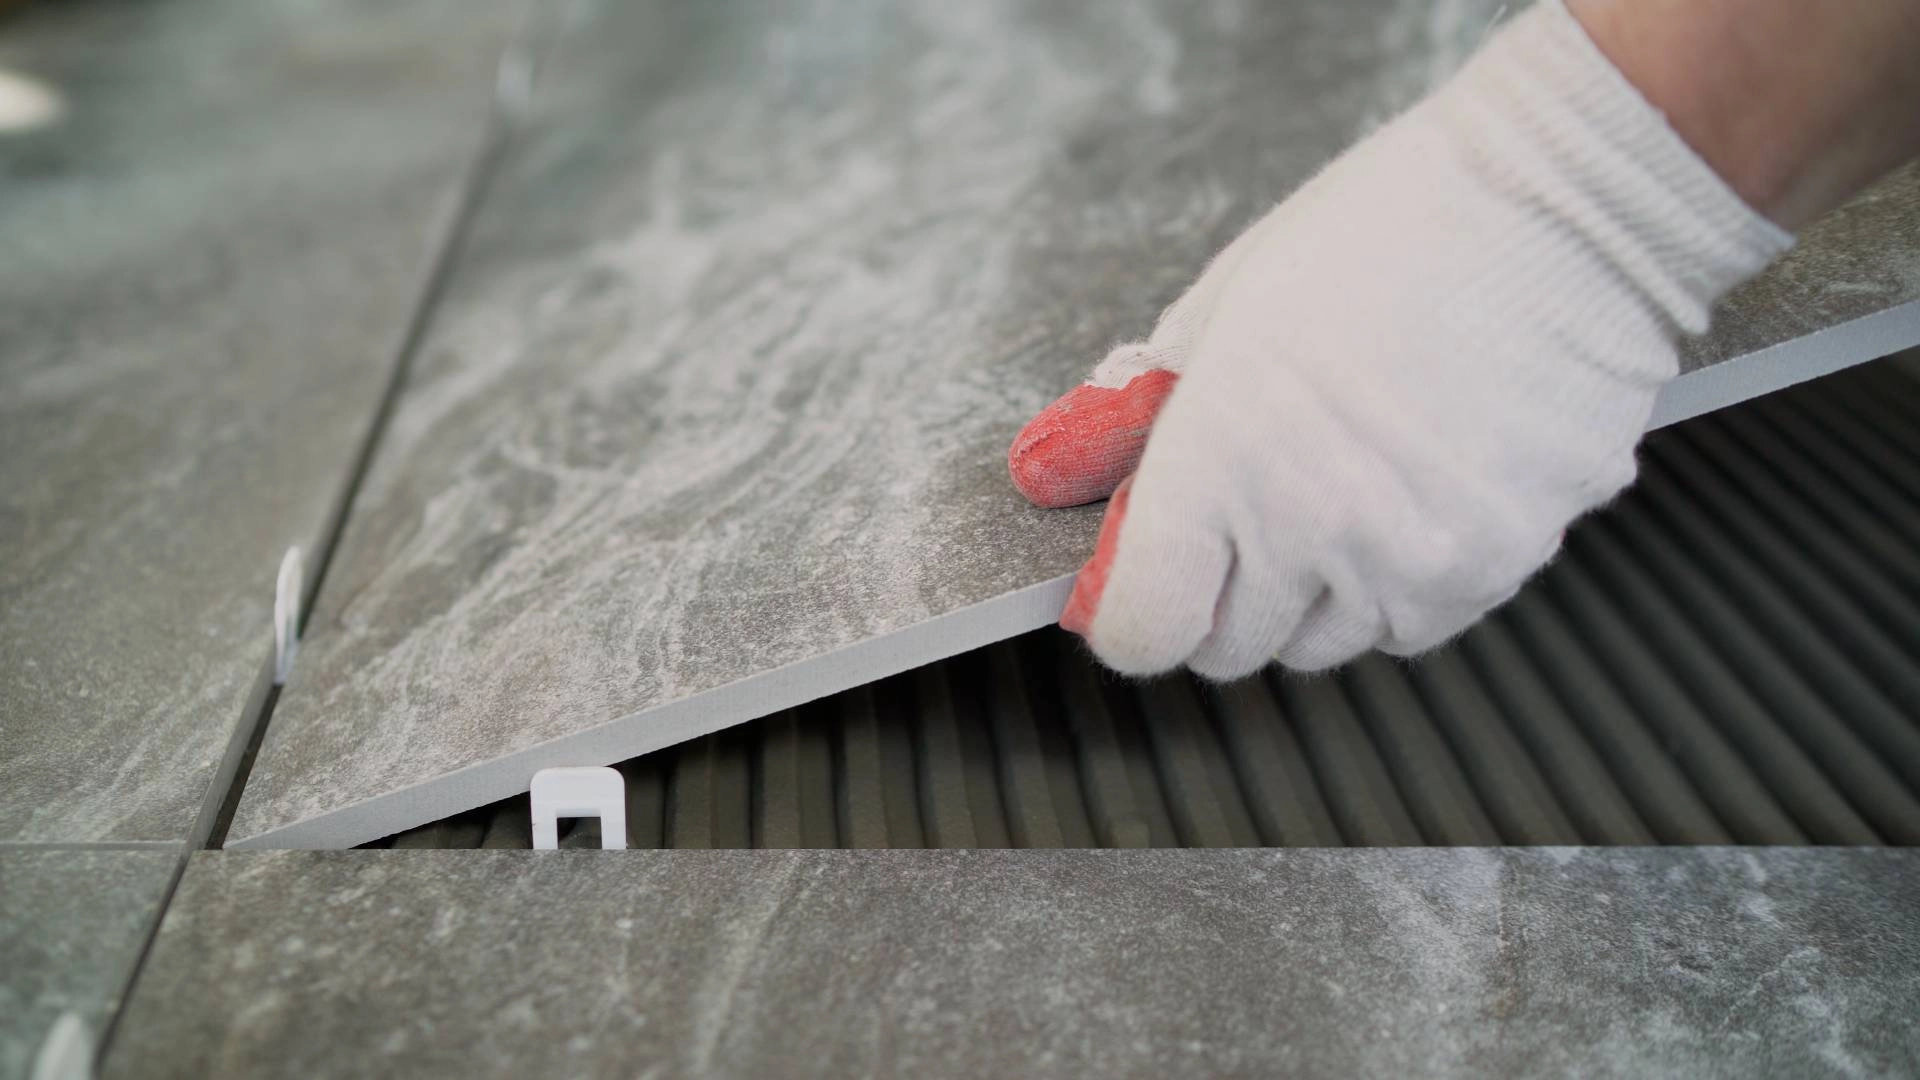
Step 4: Installation
Installation day is where the magic happens! Our installers lay out your tile, taking careful note of how they align each piece, before applying mortar and grout. It's this high-quality work and precision that sets us apart. From corners to edges, every inch of your tile will look seamless.
Once complete, the floor requires one to two days to settle before you can use it regularly. After that, all there’s left to do is enjoy!
Find Premium Ceramic Tile Near Princeton, NJ
Installing new flooring is a breath of fresh air for any home. With tile, you can have fun with different patterns and colors, knowing that this durable style will last you for years. If you're ready to move forward with the renovation process with our team, or wish to learn more about our flooring styles and process, we’re ready to connect online or when you call (609) 924-0029.
Window Accents & Flooring is located in Princeton, NJ, and proudly serves all of Central New Jersey, including Princeton, Hillsborough, Somerset County, Mercer County, Hunterdon County, Morris County, and Middlesex County.